Share
Pin
Tweet
Send
Share
Send
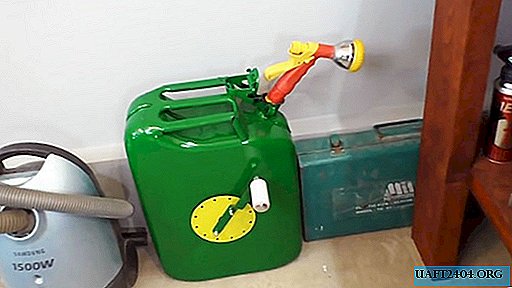
But do not rush to throw it away, why not try to use it under something else, let’s put it under a watering hose. What will we need for this?
Will need
In addition to the iron canister, we must prepare:
- pieces of plastic pipes, plug and cross;
- metal disk;
- steel plate;
- primer and paint;
- glue and glue gun;
- bolt, nut and screws;
- watering hose.
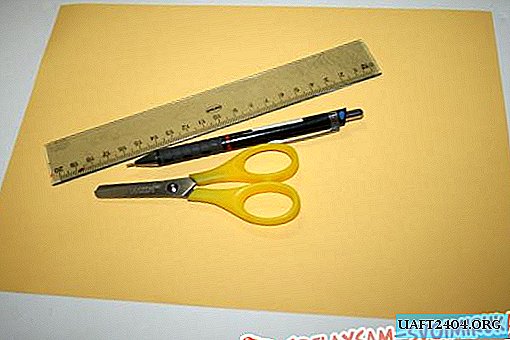
For work, we will need the following equipment and tools:
- vise, hammer and punch;
- a grinder with a snap;
- square ruler, compass and marker;
- drill with a spiral and feather drill;
- jigsaw power saw;
- knife and scissors for working with plastic;
- mechanical emery and sandpaper.
Algorithm for transforming a canister into a hose case
First, we will put the canister in order, then we will make the necessary components and parts, and at the end we will assemble them.

Restoration and preparation of an old canister
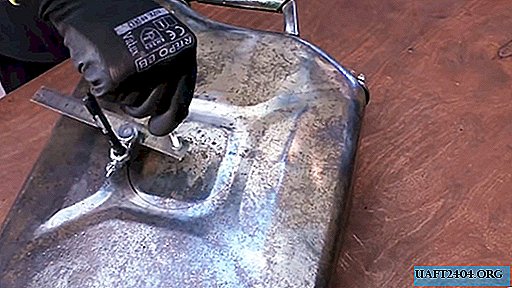
Peeling paint and rust spots can be removed with a wire brush. But it’s simpler, faster and easier to do this tedious job with a grinder and two wire brushes - a cup and a disk.

Using a metal square and a marker, mark the center of the canister on both sides, tilt it, and setting the compass leg there, draw circles of the required diameter.
Having performed a drill through the hole on the drawn circles, we cut out the circles according to the marking with a jigsaw electric saw.

Carefully clean the edges of the resulting holes with sandpaper.
We hang the canister on the hook and first coat its entire surface with a primer, and after drying, with paint from aerosol cans.

Making a hose reel
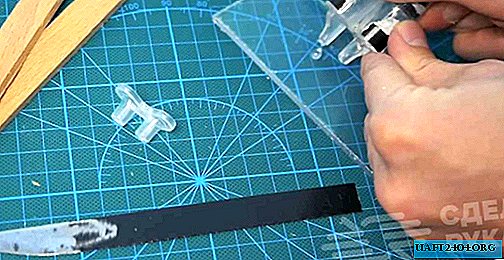
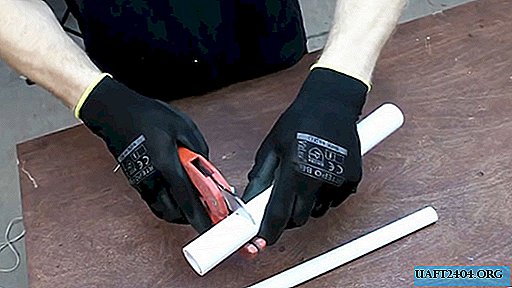
While the paint dries, we will deal with the “filling” for the canister - a reel or a drum for winding the hose. With the help of a grinder, a knife and sandpaper, we prepare the drum parts from a plastic pipe, a cross and a stub. We cut one tube billet along the generatrix so that it is possible to insert another of the same diameter into it.

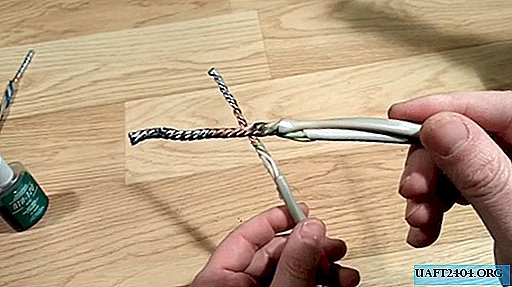
Apply glue to the side of the plug and insert it into the pipe billet with a cut.

Since the diameters of these two parts are the same, a longitudinal gap is formed in the pipe, and another one of the same diameter can be inserted into it, the sides of which are also coated with glue.

We do not bring the inner pipe to the end of the plug, but fill this place and the entire groove along the length with glue from the glue gun.

On the protruding part of the inner pipe, we first put on a flanging ring cut from a tee, and then a simple ring cut off from a smooth pipe.
We mark the metal disk for drilling two holes located on the same diameter in the center of a circular strip between the edge of the disk and the mounting hole.

Drill drill holes marked in the disk.
Mark the steel strip. From one edge, we determine the centers of two holes similar to the holes in the disk, and one more from the other edge of the strip.

Clamping the strip in a vice, cut it and drill holes according to the previously applied marking, adding oil to the drilling sites.

We bend, clamped in a vice, a strip with a hammer in the center so that its parts are parallel, but in different planes.

We paint a strip and a disk from an aerosol spray can.

We cut two identical pieces in length from two pipe blanks of different diameters with scissors for working with plastic.
We round off the ends of the plastic tubes on a mechanical emery. Now all the parts and components of our homemade products are ready and you can proceed to the next stage of work.
Hose Case Assembly
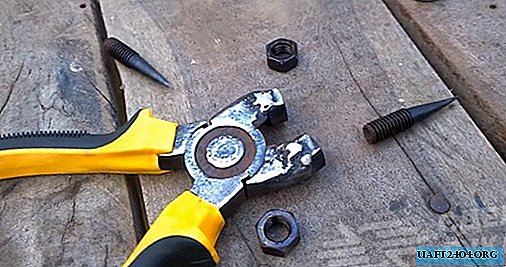
This stage begins with a hose reel. To do this, we insert bolts into the plug holes, put a disk and a handle on them sequentially and fix them with nuts, screwing them on and tightening them with keys.
On the side of the double pipe, closer to the metal disk, we drill a hole with a drill bit, commensurate with the diameter of the hose.

First we put on a round-head bolt a smaller, and then a large plastic tube, and fix them on the plate, passing the end of the bolt into the hole, and tightening the nut on the other side of the plate.

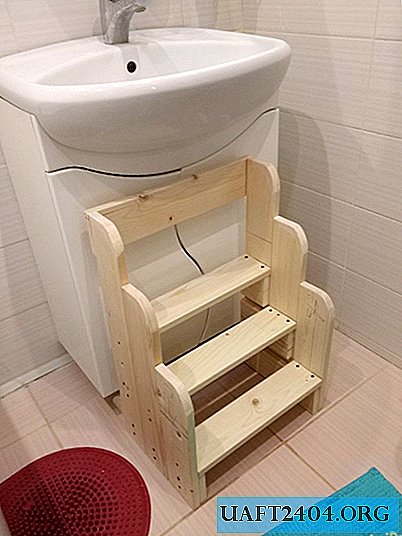
We insert the assembled assembly into the hole, earlier made in the center of the canister, until the steel disk rests against its side wall.

On the end of the plastic pipe on the other side of the canister, we install snap rings and fasten the last one with three screws to the plastic pipe.


Now the drum, freely rotating around its longitudinal axis, can not move either to the left or to the right.
Homemade testing
The assembly, in principle, is finished and you can try our homemade work in the "idle" mode. We rotate the drum by the handle and make sure that the process proceeds smoothly, without jamming or jerking.
Getting to the practical test.

Poke the hose through the neck of the canister and the hole in the drum until its end exits the open end of the coil.

We begin to rotate the handle in any direction, winding the hose onto the drum, as can be seen from the hose, which is drawn into the canister through the neck.

Unwinding the hose if necessary is also simple - just pull its end, sticking out of the neck outward, with a little effort.
Moreover, it is not necessary to unwind the entire hose if only part of it can be dispensed with. At the same time, water from the watering can goes under pressure, which indicates that the hose is not transferred anywhere and is not broken.

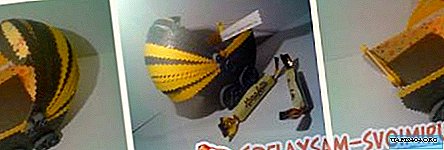
After watering, we collect the hose in our improvised case, which will not take up much space and ensure its safety for many years.


Share
Pin
Tweet
Send
Share
Send