Share
Pin
Tweet
Send
Share
Send
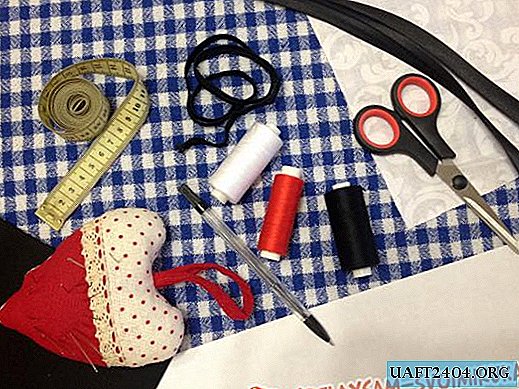
Will need
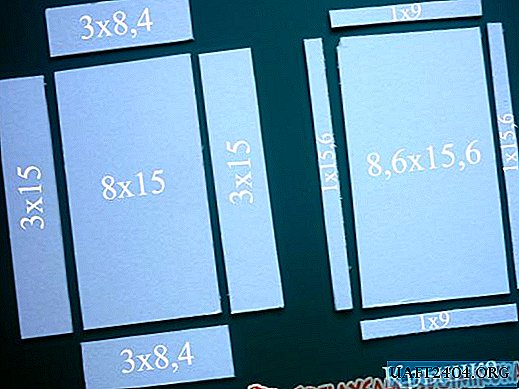
- Two sewer plugs with a diameter of 160 and 200 mm.
- Aluminum pipe with a diameter of 14 mm and a length of 2 m.
- LED lamp.
- Wire, plug and switch.
- Building plaster.
- PVA glue.
- Paint.

Production of floor lamp UPPERLIG
First, we’ll make a “leg” of our lamp. To do this, take an aluminum tube and begin to bend it. It is important to choose the correct bend radius, otherwise we will get an ugly bend. Radius 160 of the stub turned out to be small. But the radius of 200 stubs fit perfectly.

We pick up the phone and begin to bend.

On both sides of the tube we make 3 through holes and screw them into them.

We send the design for painting

While the "leg" dries, we proceed to the manufacture of the ceiling. We take a small plug for 160 and an LED lamp. We warm up the hot glue gun and go through all the joints of our lamp so that moisture does not get inside.

Next, we increase the wire from the lamp.

We take a cap and measure out 18 mm.

With a step drill we make a hole of 14 mm.

We cut out the wall so that we can then get the cast mold.

Now we are putting it all together.

We center the lamp and fix it with hot glue.

We insert the cut-out wall and seal with glue.

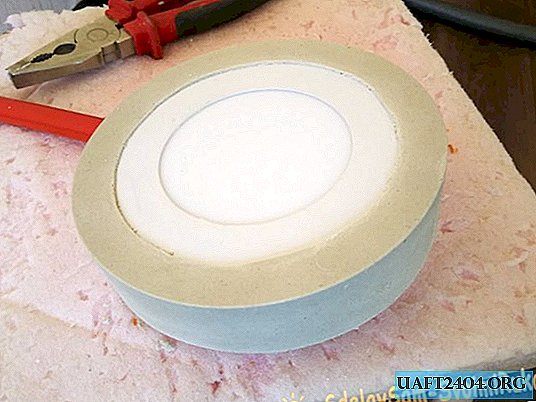
Fill the plaster. Add some PVA glue to the gypsum. When dried, it will add strength to the plaster.

Filled gypsum. I drive out the bubbles with a grinder.

We wait a day until the gypsum dries. Just because the ceiling did not want to go out. I had to cut the plug

The gypsum was slightly numb under the lamp.

Check if the lamp is working? Or was it flooded with water?

All perfectly! We continue! While the gypsum is still elastic, we cut off all unnecessary.

It turned out pretty well.
Next, we proceed to the manufacture of the base. The procedure is almost identical to the manufacture of the ceiling. But there are a couple of differences.
We take the case from the driver of the LED lamp and seal it.

We put the wire in the driver's case. Fill everything with glue. We place inside a large stub and fill with plaster.

We are waiting for 2 days and try to get it. It’s impossible without a saw, which means we’re sawing.

We get the driver cover.

We take out the wire and solder the LED driver to it.

Insulate the wires with hot melt.

We put everything into the driver housing. We fasten 4 rubber legs and the lamp is ready!

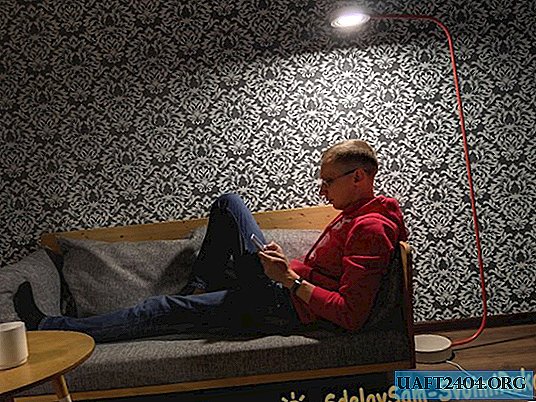
Enjoy the result
The lamp fits perfectly into my interior. It is convenient to read, work at a computer, watch TV under it.


I hope you enjoyed my homemade!
More details can be found on my Youtube channel.
Share
Pin
Tweet
Send
Share
Send