Share
Pin
Tweet
Send
Share
Send
Will need
Our venture will take only a few minutes and will cost a mere penny. We can do the simplest things:
- a plastic bucket from under the water emulsion;
- a small piece of laminated plywood;
- several screws and steel balls;
- furniture handle.

To do the job quickly and efficiently, we will need a jigsaw, an electric drill, a screwdriver, as well as a tape measure and marker. In principle, you can get by with a hand tool, which will slightly complicate our task.
The process of manufacturing a garden hose reel
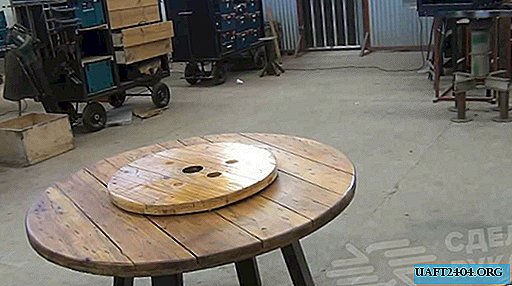
We start from the bucket - the larger it is in volume, the more capacious the hose reel will be. We measure the sizes: the largest and smallest diameter, and the height of our tank.

We transfer these sizes to the surface of multilayer plywood. You can do without measurements and simply circle the bottom and top of the tank with a pencil on plywood.
Cut out a sheet of plywood with a jigsaw to mark the circles.

We put a smaller plywood circle on the bottom of the bucket.
We place a wooden beam exactly in the center on it and mark the height of the container on it, taking into account the thickness of the multilayer plywood.

Cut off the marking bar.
On the "bottom" circle in the center we set the beam and draw a marker around its perimeter.
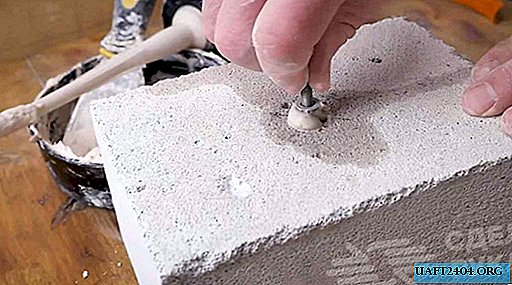
We drill with a drill inside the perimeter contour three holes for fixing screws.

We install the beam exactly according to the marking on the plywood circle, turn it over and screw in three screws until the stop.

We put a circle with an attached beam in a bucket.

We cover the timber from above with a large circle and also fix it to the timber with three screws.

To the upper circle outside, closer to the edge, fasten the furniture handle with a screw.


On the side of the bucket, using a ruler and marker, draw two vertical parallel lines along the entire height. The distance between the lines depends on the diameter of the hose and increases with its increase.
Having departed from the bottom by the thickness of the plywood circle, we drill into straight holes, sufficient for the entrance of the jigsaw blade. We drill the same limiter holes from above.
We carry out sawing in two straight lines from hole to hole, as well as in the transverse direction.
We clean the edges of the rectangular cut with a file. This will help the safety of the hose when it is unwound-unwind and safe operation of the device.

We reinsert the circles with the bar in the middle into the modernized bucket.
Closer to the center of the upper circle, drill a hole with a pen drill, into which you can easily push the hose.
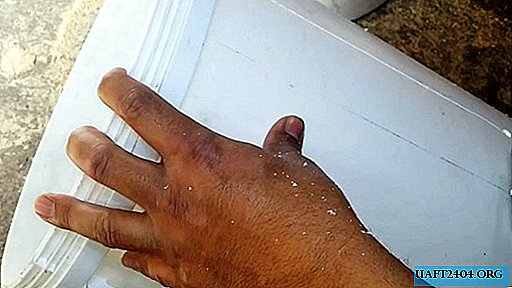
Once again, we take out the “stuffing” from the bucket to throw 8-10 steel balls of the same diameter to the bottom. They will greatly facilitate the rotation of the drum when winding the hose.


Having installed the coil in place, we make sure that it has become much easier to rotate it.
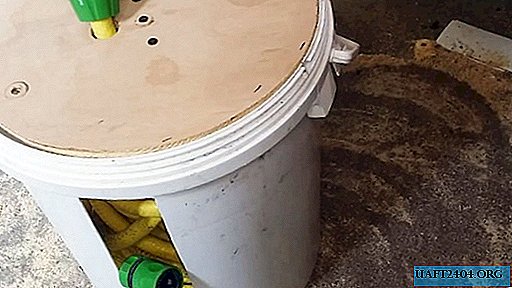
We push the end of the hose through the side slot, then pull it out through the hole in the upper circle and fix the sprayer or the connecting device at the end.


Now it’s enough to twist the reel by the handle and the hose will begin to be wound on the beam between the plywood circles, which is held back from unwinding by the side surface of the plastic bucket.
The hose assembled in a container can be left in this form on beds or on a lawn without fear for its safety.


Share
Pin
Tweet
Send
Share
Send