Share
Pin
Tweet
Send
Share
Send
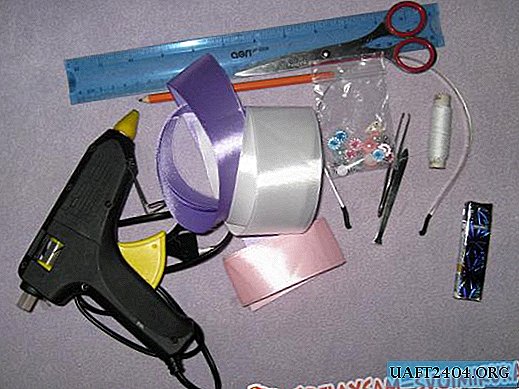
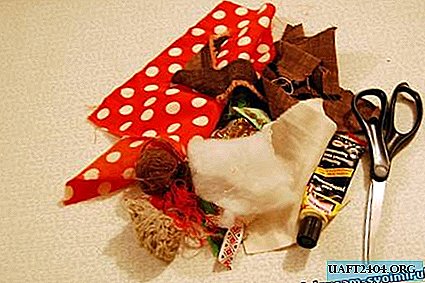
Necessary tools and materials
For work, we need:
- plug and socket of the USB connector, you can use the plug from the old wire, and remove the socket from unused equipment;
- twisted pair cable of the required length, I used a 4-pair cable;
- soldering accessories, preferably with a hairdryer;
- sharp knife (scalpel).
Description of the manufacturing process
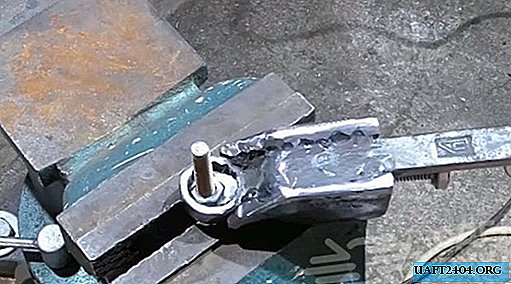
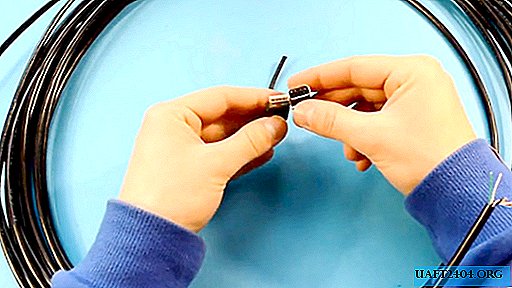
First, let's take a plug. On both sides with a sharp knife we make cuts in the rubber fill. Cut rubber to metal.

We heat the rubber sheath with a hairdryer for soldering until it softens and remove the plug from it.

We make the cuts as carefully as possible, since after soldering the twisted pair wires to the plug contacts, the shell can be put back on the glue.
Next, expand the petals of the metal lock holding the cable, and clean off the layer of compound covering the contact tracks. Here you need to be careful, I personally slightly damaged one of the soldering sites.
Getting to the cutting cable. After removing the insulation, we clean the ends of the wires on one side of the cable. When soldering the cable, you need to be especially careful not to mess up the order of the wires, otherwise the extension cord will simply not work.

So, we turn the plug with the front side towards us so that the plastic base on which the contacts are fixed is at the top. We see four current paths used to connect to the contacts of the socket. Countdown start from left to right:
- the first contact is + 5V power, solder 3 wires to it - blue, orange and white-orange;
- the second contact is -Data, here we solder the white-green wire;
- third - + Data, solder green;
- the fourth - power -5V, solder brown, white-brown and white-blue.

We twist the built-in wires of the power circuits, service all 4 of the resulting tips and solder them to the plug. The place of the soldered connection is poured with hot glue or sealant and we clamp the cable with a metal lock.


We begin to clean the second end of the twisted pair. We carefully study the pinout of the USB socket:
- the first - wires of blue, orange and white-orange;
- the second is a white-green wire;
- the third is a green wire;
- the fourth - wires of brown, white-brown and white-blue colors.

In addition to the power supply circuits (+ 5V, -5V), it is necessary to solder a capacitor with a capacity of at least 1,500 microfarads in order to avoid a drop in the supply voltage. We make the connection in accordance with the polarity of the capacitor - "+" on the 1st contact, "-" on the 4th.

It remains to fill the soldering of the socket with hot glue or sealant. You can start the test. If you made no mistakes while making the connections, the extension cord should work.

This extension cord was made by connecting an external antenna with an adapter.
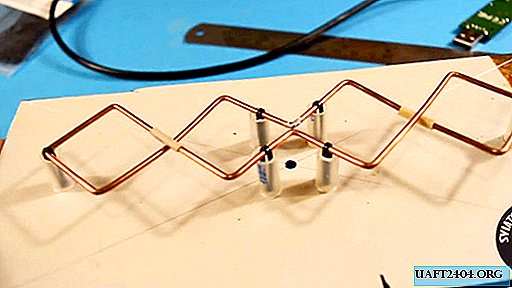

The antenna is located at a distance of several meters, the adapter glows green.

Conclusion
The cable I selected has 4 pairs, that is, 8 cores. You can use a cable with a different number of cores. When choosing, it is important to remember the following:
- cores can be at least 4, by the number of contacts of the USB connector;
- it is desirable to increase the cross-section of the wires of the power circuits by combining several cores, as I did.
Goodbye, good luck to everyone.
Share
Pin
Tweet
Send
Share
Send