Share
Pin
Tweet
Send
Share
Send
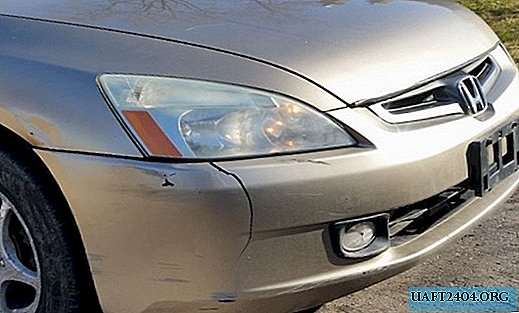
Today I will talk about how you can repair a cracked plastic car bumper with epoxy glue. This procedure is not very complicated, but it will allow you to save a considerable amount instead of changing the bumper to a new one. All actions are available to the ordinary car owner and will not require special knowledge or expensive equipment.
DIY cracked bumper repair

First of all, you need to remove the bumper, since the repair method in question cannot be performed on a car. The photo shows how the damaged area looks from the outside and from the inside.


To glue reliably adhered to a plastic surface, it must be prepared. To do this, with a sharp knife, I expanded the edges of the crack to form a V-shaped groove. You also need to clean the damaged area from dirt and additionally sanded with fine sandpaper.

To fix the two parts of the bumper, I used paper tape - it holds normally, but it is easier to remove it later. When connecting the bumper and sticking the adhesive tape, you need to ensure that the edges of the crack converge at the same level, and there is no overlap on each other.

The process of applying epoxy glue, I divided into two stages:

- First I applied some glue directly to the crack.
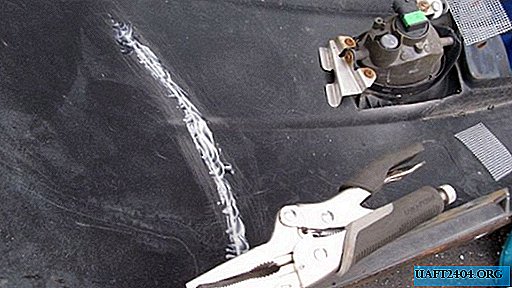
- While the glue did not seize, I glued small sections of the masking net, which would serve as a reinforcement. After that, another layer of glue was applied over the mesh so that the mesh was inside the adhesive layer.

Note! Epoxy adhesive consists of two components, which, after extrusion from the syringe, need to be mixed until smooth.
After curing the resin (about 12 hours), you can remove the fixing tape on the front side of the bumper and begin to seal the cracks on this side.

To fill the crack, I used a special bumper putty, which I applied with a rubber spatula, and after drying I sanded it with fine sandpaper.


The final stage of repairing the bumper is its painting. Before that, you need to thoroughly clean it from pollution: I washed it with plenty of water and detergent.

Before staining plastic, it is necessary to apply a layer of a special primer - otherwise the paint will quickly peel off. When the soil layer has dried, I completely painted the bumper with spray paint so that it is the same color. After applying two coats of paint, I got a quite acceptable result - there are practically no traces of cracks.

After the paint has dried, it remains to put the bumper in place, and the repair is completed. As a result, we get inexpensive repairs with our own hands and almost complete absence of signs of damage.


Install the bumper in place.


Original article in English
Share
Pin
Tweet
Send
Share
Send


