Share
Pin
Tweet
Send
Share
Send
We are all accustomed to piggy banks in the form of pigs, in which they scrupulously stack money. If you want to accumulate a certain amount for the purchase of the thing you need, then the piggy bank will certainly help. But you have to wait. In the same lesson, a slightly different option is proposed. We offer you to make a pig out of money. This is a craft made in the technique of manigami. You must use a bill to fold the figure. A pig of money is a talisman that will definitely bring financial luck and prosperity. Consider the methodology for its implementation.
To create a guinea pig, you will need one bill.
How to fold a pig in an origami technique in stages
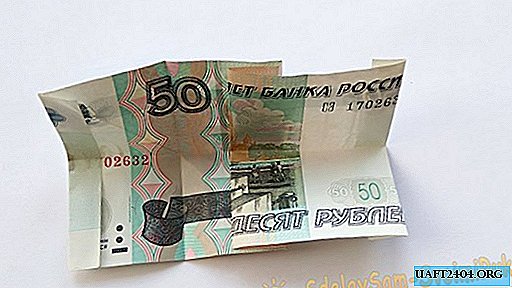
1. Take any bill as you wish and rotate it horizontally.

2. Make the initial bend along the middle, perfectly smooth and take care to close adjacent corners and opposite long sides.

3. Unfold the paper and fold it again. Make the second bend vertically, combining the corners adjacent to the long sides and the short sides of the rectangular bill.

4. Leave the bill in this position and lift the top layer up so that the bottom side is aligned with the left side where the bend was. You will select a line offset about 1 cm from the diagonal of the desired shape.

5. Bend the upper part, which extends beyond the boundaries, to align with the upper side of the figure.

6. Turn the workpiece over with the other side toward you and bend the left side to yourself, retreating about 1 cm. You must also align the line.

7. Expand the paper, but now in front of you is a bill in which two side parts are bent in different directions, and 3 fold lines are also visible.

8. Turn the left side toward the center line of the fold and smooth the paper.

9. Turn the workpiece over with the other side toward you.

10. Now, holding the banknote in this position, bend it vertically in half.

11. Begin to disassemble the bill, but not to the end. In the center, make a small fold, as shown in the corresponding photo.
12. Hold the bill with your finger and bend the workpiece in half along.

13. Knead again and aim at the center line with two sides, but the crease should remain in place.

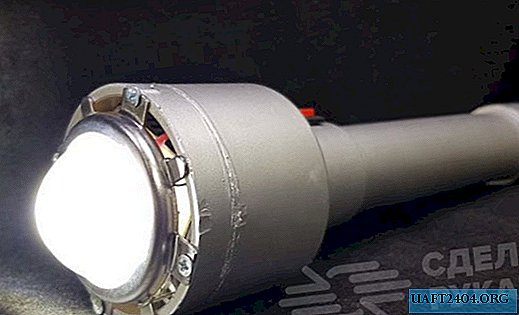
14. Leave the left side bent towards the center, and straighten the right half so that isosceles triangles form on the sides. At this stage, you get a part that resembles a flashlight.

15. Turn the figure over with the other side toward you.

16. Work now with the square part of the workpiece. Bend the upper right corners so that they close in the center, then part only a small corner in different directions.

17. Start closing the inside of the former square and collect the entire figure.

18. Closing the inside of the square, pushing the entire structure inward, close the side and the long rectangular part. It is necessary to bend the bill in half.

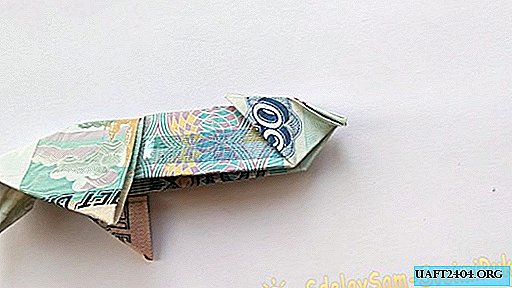
19. Here is half of the figure. The back of the mumps has already loomed. The animal has hind and front legs. The head has not yet been outlined.

20. Highlight the front straight part of the ears. Bend the corners up, then to the side to show small isosceles triangles.

21. Push the small triangles inward. The forward rectangle has now become sharp.

22. Bend the small corner back and begin to bend the central part to highlight the patch.
23. Piglet also push inward, lift the ears up so that they stick out. Use your fingers to grip the entire muzzle and push it back to highlight the pig’s thick neck.

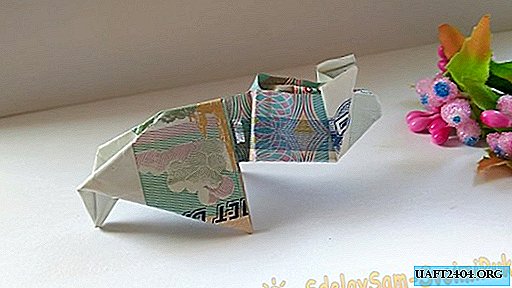
24. The pig figure manigami is ready.


Share
Pin
Tweet
Send
Share
Send