Share
Pin
Tweet
Send
Share
Send
Socket Installation Process
1. The first step is to prepare a working tool. To do this, put on a drill a special cylindrical nozzle - a crown on concrete.

2. We mark the place where the new outlet will be located. Using a drill, we make a recess in the wall of the desired diameter. The depth of the hole should correspond to the box in which the wires will be.

3. Next, it is necessary to supply wires with electricity to the existing hole for the outlet. To do this, select a nearby existing outlet. We remove the protective cover from the working outlet (at the same time, we disconnect the switch in the switchboard in advance). Then we make a recess under the wires from the working outlet to the future.

4. Connect the wires of the desired length to the working outlet. And then we lay the wires along the gutter to the future outlet.

5. We close the wires in the gutter with putty.

6. In the hole, which is located in the wall, install a plastic junction box. We withdraw through the box of wire.

7. The place for the outlet is prepared, so you need to think about designing a place around the outlet. In this case, the wallpaper will be pasted onto the wall. Therefore, at this stage, wallpaper should be pasted around the outlet so that in the future everything would look beautiful and harmonious. During wallpapering, the ends of the wiring must be insulated to exclude the possibility of getting under current.

8. For further work, the socket must be completely disassembled. To do this, remove the top cover of the outlet by unscrewing the bolt in the middle. After that, we disassemble the socket into parts.

9. We clean the ends of the power wires for better contact. Then we connect the power wires to the corresponding conclusions of the outlet.


10. Install the outlet in the box.

11. We fix the body of the socket inside and out.


12. It remains to put on the body a plastic decorative edging. To do this, first put on the base of the edging and hold it with your hand.

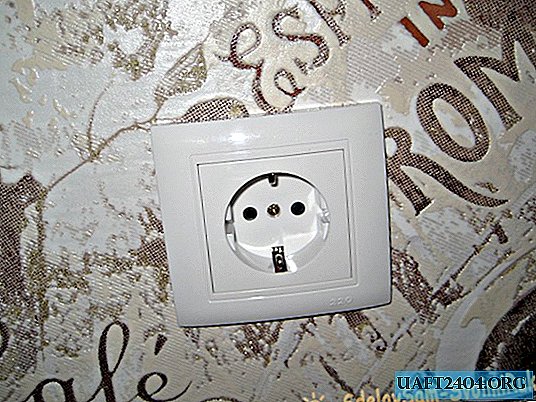
13. Then install the core and fasten the entire structure of the outlet with a central bolt.

14. The installation of the outlet is ready, you can connect electricity and use this outlet.
Share
Pin
Tweet
Send
Share
Send