Share
Pin
Tweet
Send
Share
Send
Having run through the forums, I found out that the problem of failure of the nickel-cadmium batteries used in screwdrivers is by no means a new one, but rather a very common one. In general, these batteries, in addition to cheapness, are a plus for the manufacturer, they have a bunch of disadvantages that are identified during operation. This is a small life cycle, and a small capacity, and a small battery life.
All forum users who are faced with a similar problem without hesitation boldly change their nickel-cadmium batteries to lithium-ion ones, which I will do. Let them be more expensive, but the screwdriver will work much longer and more.
Replacing a screwdriver battery
Without hesitation, I purchased 18650 lithium-ion batteries. Since my screwdriver is 18 volts, and one battery produces 3.7 V, therefore, I needed 5 pieces. 5x3.7 = 18.5 V is what you need.
I also bought battery compartments, one for two batteries, the other for three. Connected everything in series. He pulled out the old batteries and replaced them with new ones.


This could be summed up, but as it turned out, I made a terrible mistake. The fact is that lithium-ion can never be charged as old batteries! This is even dangerous, as they can simply explode.
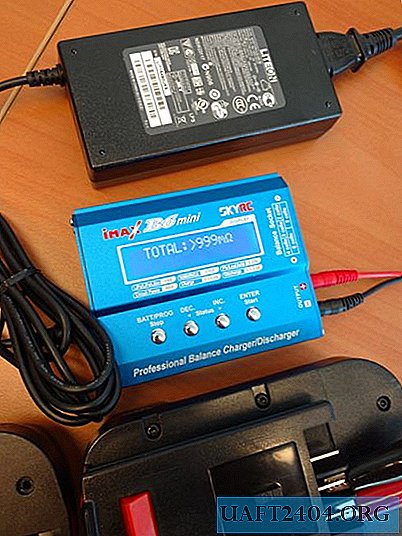
How then to be? It's not that complicated - you need a charging controller for lithium-ion batteries.
Lithium-ion batteries are very sensitive to overcharging, to a discharge below the norm - all these factors quickly disable them. This is perhaps their main minus. But it’s easy to get rid of it using a controller that will take on all the functions of monitoring and limiting hazardous conditions and make battery operation at a high level.
Buy links:
- 18650 battery.
- The charging controller 5S 20A or specifically - HERE.
Charge controller connection diagram

The batteries are also connected in series, except that a contact is made to each connection between the batteries to the controller. As a result of this, the controller monitors the status of each battery and prevents it from recharging in the circuit.
I put together a circuit. Everything works perfectly.


Verification Video
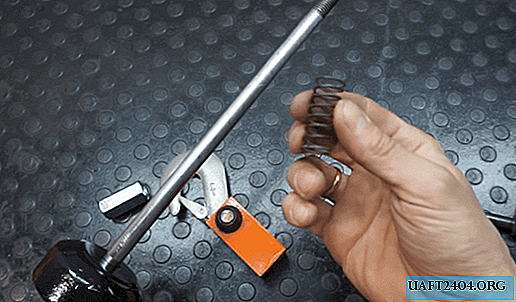
Screwdriver Battery Assembly
Since the controller was added, I had to abandon the battery compartments, as the place was sorely lacking. Well, this is for the better, since the screwdriver is subject to vibration, and not tight contact could not have a very good effect in the future ...
I decided to solder the batteries together. In general, lithium-ion batteries are very afraid of overheating and need to be connected by contact welding. But I don’t have it. So I soldered all the soldering iron. If you will do this, then teach: use only a powerful 40-60 watt soldering iron. Solder with acid or active flux. And in no case do not solder one connection for more than a second. If the first attempt did not work out, it is better to wait five minutes and try again.
I ended up doing this:

I soldered the circuit.

He blinded the batteries with tape and slanted them into the battery compartment of the screwdriver.


The charge is on.

I soldered all the wires to the terminals and received an updated battery for my old screwdriver, which, I hope, will last me more than one year.
Buy links:
- 18650 battery.
- The charging controller 5S 20A or specifically - HERE.
Share
Pin
Tweet
Send
Share
Send