Share
Pin
Tweet
Send
Share
Send
First of all, the balcony needs external insulation. Foam is ideal for this.
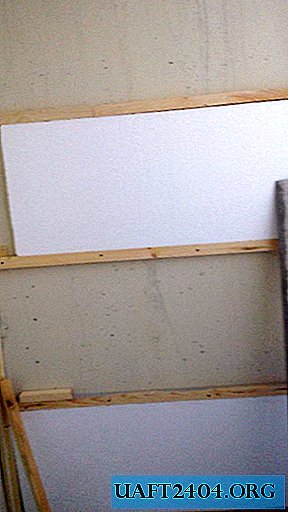
The wall surface is prepared, the old plaster is removed. This must be done to the concrete base. Due attention is paid to surface priming. For these purposes, a deep penetration primer is well suited, when it dries, we stick foam sheets to the base, using an adhesive solution for this type of work. Having established a shelf from the corner on the lower edge of the wall, for an even first layer, we proceed to gluing the foam. Work must be carried out from the bottom up to the full coverage of the required insulation area.
We proceed to the internal finishing work. When choosing plastic panels as the ceiling coating, the first thing you need to do is create a frame of wooden slats 2–3 centimeters thick on the ceiling. This will save space and there will be no effect of overhanging the ceiling over your head. Reiki are mounted at a distance of 35 - 40 centimeters relative to each other.

Installation begins across the rails. The panel is trimmed less by 3 - 4 centimeters relative to the width of the balcony. A small hacksaw is used, after cutting the edges are cleaned with sandpaper. Starting from the edge of the wall, the first panel to each rail is nailed with small cloves or fastened to screws.
At the end of the ceiling installation, we proceed to the second stage of decoration.
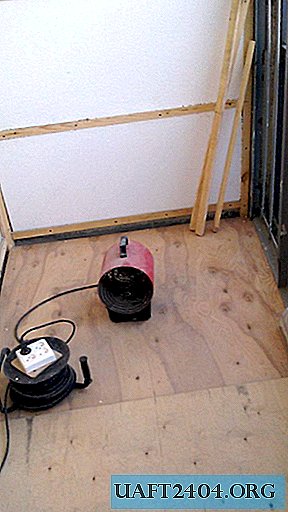
We make the floor from plywood for the subsequent flooring of linoleum. The first step is to carry out work on leveling the floor. This can be done with a concrete screed. With complete drying of which the floor surface is carefully swept and hydro - heat - insulation spreads over the base. Plywood 2-3 centimeters thick is cut into squares of not more than 50 centimeters. It is laid out by the herringbone from the edge of the wall, having stood a distance of two three centimeters from its surface. Having laid out on the floor and numbered all the pieces, we remove them and then we begin to mount the floor. Fasten plywood with glue based on bustilate. After drying, cover the floor with film or newspapers in order to avoid contamination during further work.

If a lining is chosen as the material for covering the walls of the balcony, it is necessary to create a frame on which it will be mounted. To do this, a crate is made using wooden blocks. They are mounted around the perimeter of the balcony at a distance of 50 - 55 centimeters from each other

. The surface on which the lining will be packed should be perfectly flat, which will extend the life of the operation and create a high-quality appearance. A good option would be to opt for wooden lining. Linden is considered one of the best types of wood for these purposes, but pine species also have their advantages. They are resistant to temperature extremes and wear. The lining on nails is fastened. It is necessary to start work from any angle. It is cut into two three centimeters less, both from the base of the ceiling and from the base of the floor.

At the end of the work, also with indents along the perimeter of the walls a few centimeters, linoleum is laid. The gap between the clapboard-lined walls and the ceiling is hidden by ceiling skirtings.

We fix over the baseboard floor. The perfect balcony is ready.

Share
Pin
Tweet
Send
Share
Send