Share
Pin
Tweet
Send
Share
Send
To make two envelopes, postcards, we take:
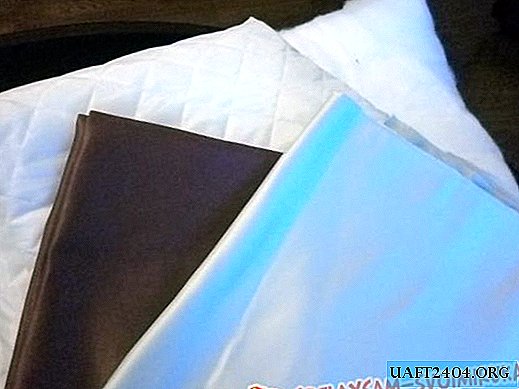
• Thick cardboard under the skin, two sheets of A4 format burgundy red and purple;
• Felling from the same color of cardboard: two napkins, two butterflies. As well as two pairs of green petals;
• Two pictures with a flower print;
• Paper for scrapbooking, two colors, sheets 30 to 30 cm;
• Ribbons with promotions purple and red;
• Red fabric ribbon with roses;
• Lilac paper roses, green, mint white;
• Satin ribbons pink and purple 15 mm and 25 mm wide;
• Hole puncher;
• Two inscriptions "Happy Birthday";
• Sheets of white whatman paper;
• Pearl half beads;
• Glue gun, glue stick, double-sided tape;
• Pencil, scissors, lighter, ruler.
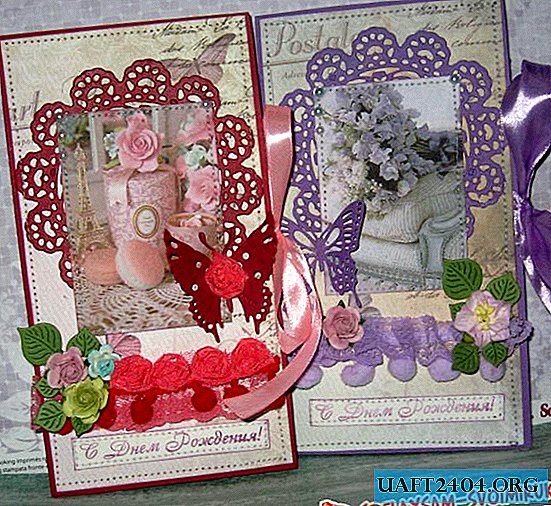

We put on a breadboard mat a sheet of burgundy thick cardboard and measure it in width on it 10.5 cm, 10.5 cm and 5 cm for the pocket. We leave an envelope of 19 cm in height. We cut off all the excess.


We draw the lines of bends and pre-lay the foundation.


We also do everything on purple cardboard.


From each sheet of scrapbook paper we cut two rectangles 10 by 18.5 cm, and one by one 4.5 by 18.5 cm.


You need to stick the tape to the basics so that the envelope is tied to a bow. We cut off and in the center we glue the strips of ribbons, as in the photo. The edges of the ribbons are handled carefully by fire.


Small blanks, as well as rear ones, are immediately glued to the bases, and then we sew them together.


We decorate the two front rectangles with napkins, inscriptions, and a picture.


Sew the elements on the blanks. Glue both parts to the front of the envelopes.


We flash both postcards on the front. Envelopes are tied on a bow. Now we prepare the decorations, and glue them on our cards. From lace we make quilling and glue, leaves and ribbons form a bouquet. In general, further decoration to your taste.


We get two such rich envelopes in which there is a place for money, as well as a place for a poem. Thank you all and good luck !!! Create for the joy of yourself, relatives and friends.

Share
Pin
Tweet
Send
Share
Send