Share
Pin
Tweet
Send
Share
Send
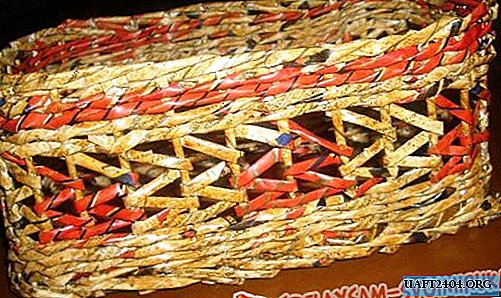
Cute dolls-motanka, which they use with pleasure for interior decoration in a folk style, and just for decorating a children's room, living room, kitchen. It is pleasant and not very difficult to make them, so the idea of making such a doll can be used, including for children's activities.
The words of a beautiful song evoke romantic, lyrical notes, the song performed by the group "Earthlings" is still listened with pleasure.
"... Blazes in the wind
The red horse is proud.
Beat the ground with a hoof
Drinking silence from the river
My childhood, red horse. "
What does he look like, this fantastic red horse?
Imagine it in one of the images.
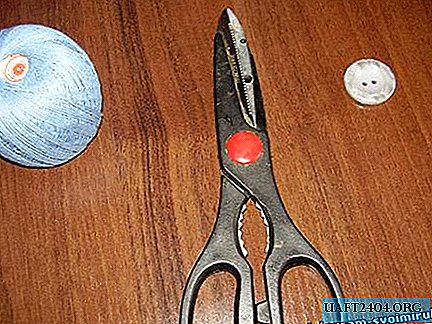
For work you will need yarn, about 50 grams, red, white yarn, about 25 grams, a high plastic bottle, scissors, a frame for winding threads, you can use a book together with it.
The red horse is fully executed by winding threads. This simple technology allows you to make various funny toys.
But first, in order to get a stable conic that will confidently rest on all four legs, we will make stops for the limbs from a plastic bottle.


To do this, cut two strips 1 cm wide over the entire length of a 1.5 liter plastic bottle. We bend them in half, in this form they will become a firming foundation for the horse's legs.

We use a book as a frame for winding. We wrap the red threads in two identical tight wraps parallel to each other. The more yarn wound, the more voluminous the toy will turn out.


We tightly bind the additional thread on one side. On the other hand, cut. We get two identical locks of yarn intercepted in the center.

We form the horse’s head from one strand. To do this, we knit a strand folded in half with the next additional thread, stepping back from the central tie to the width of the thumb. We bend the strand slightly so that the neck bends further.
The second strand is used to perform the torso. We circle it around the blank from the first strand, so that the bandaged part is in the center, forming the horse’s chest. We dress the second strand with an additional thread. Now the two strands are connected at right angles.


It's time to use plastic foot inserts. To do this, we divide the first strand in half, tie the plastic insert at the bend with the same thread from which we make the toy, and fasten with a double knot to the junction of the strands in the chest, inside, under the threads. We get our front legs twice by intercepting a forked strand with a plastic insert inside.


Similarly, we perform the hind legs, securing the threads around the plastic insert. We cut the lower strings to evenness. As a result, on both strands should be 8 ties-interceptions.
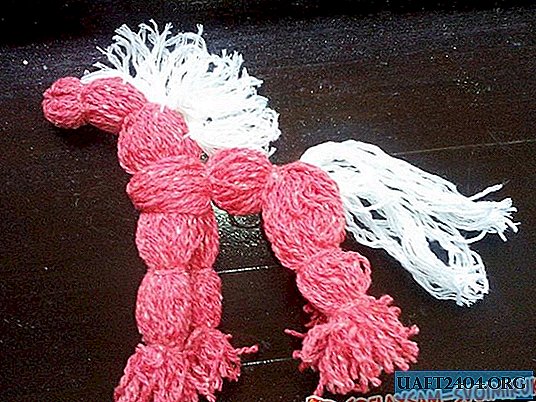
It remains to complete the mane and tail. We also make them winding from white yarn. We wind the yarn on the same frame or book, only on the short side.

Just like the last time we get two tight wrapping. Tie tightly intercepting each wrapping on one side. We cut one in the opposite bend, this is the tail. We tie it to the back of the horse. We knit the second wrapping with a second additional thread and cut it in half, getting two half-strands.


We tie them to the neck of the conic. Tu, a half-strand that is closer to the muzzle, we are tied twice to get a small horse’s bang. If necessary, trim the mane with scissors.


The horse turns out brave. He can stand on his feet, thanks to plastic inserts, or by threading a thread in the scruff, you can attach it in a suspended state.
Share
Pin
Tweet
Send
Share
Send