Share
Pin
Tweet
Send
Share
Send
For the manufacture of crafts I needed:
- A semicircular plastic plate and a small plastic ball.
- Cement, sand, water.
- Disposable glasses (volume 0.5 l. And 0.1 l.).
- The knife.
- Form for filling (old leaf for the oven).
- Tassels.
- oil paints.
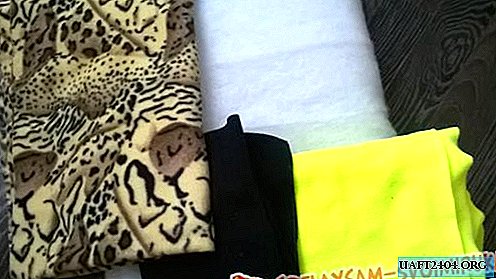
- A plastic bottle of green color.
- 5 liter plastic bottle.
- Primer for painting.
- Masking tape.
- Scissors.
- Matches, a candle.
- Sandpaper.
- Glue.
- Additional decor (flowers, butterfly, ladybug).
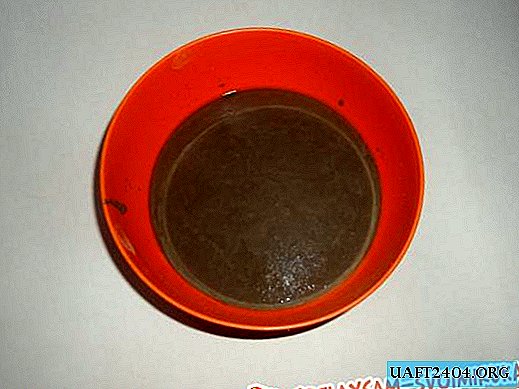
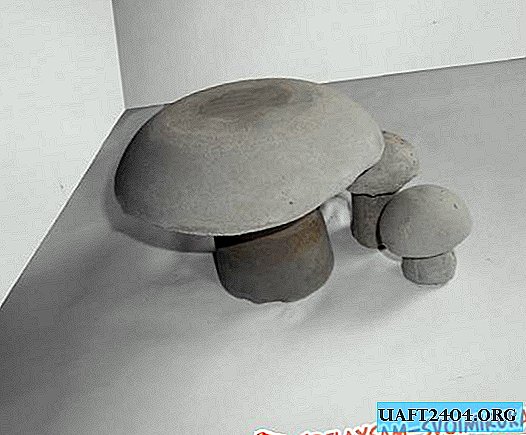
First, I took a plastic plate with a round bottom, for insurance, smeared it from the inside with a drop of sunflower oil, so that the mushroom hat came out well. I diluted a solution of cement and poured into a plate. As you probably already understood, this is the future mushroom hat.
A little later, when the cement had already set, but still not completely frozen, I took a disposable glass of 0.5 l, cut off the bottom of it and put it on top of the hat, bottom down, and also poured cement mortar. The mushroom is ready.

Left the mushroom to dry for a couple of days in a warm place. Then I easily got it out of shape, I also removed the glass from the leg. I also made two small mushrooms. I put the hats in a small plastic ball, which I first cut in half, and the form for the legs was disposable cups with a volume of 0.1 l. When the mushrooms were completely dry, I sanded all the rough edges with sandpaper.
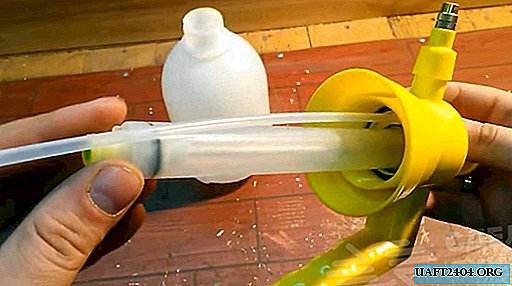
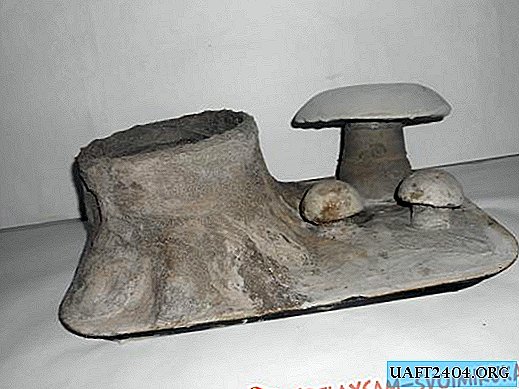
Mushrooms are ready, it's time to make a stump. To do this, I took a 5 liter plastic bottle, cut off the bottom of the desired height.

She glued the workpiece from the outside with masking tape, so that the cement sticks better. The stump blank is ready.

Since I wanted to make a clearing, I needed a form for filling it. I thought for a long time what to make of it and then the idea came to my mind to use an old sheet for baking in the oven. I took a leaf, poured it with cement mortar and set the stump blank and mushrooms inside. All this left to dry for another couple of days.

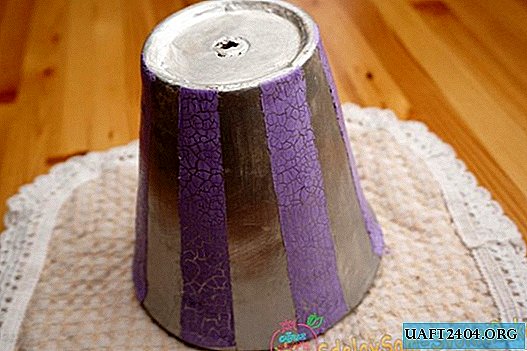
When everything froze and began to stick together well, I began to shape the hemp. Once again, I knead a solution of cement, sand and water, slightly wet the stump with water and began to apply cement to it. I smoothed out any irregularities with a wet brush. Inside the stump, I also applied cement on the sides of the bottle and to the bottom. When I liked the shape of the stump, I left it to dry until completely dry. Here's what happened.
Then I again sanded everything to smoothness. The remaining dust was swept away with a soft brush. Put a primer for painting. When the primer dried up, I painted everything with oil paint. The stump turned out to be brown in color, the mushroom caps were painted dark brown on top, and light brown on the bottom, the grass was painted green.

She gave time to dry the paint and then took up the additional decor of a forest glade. I took a green plastic bottle, cut off a strip from it and with the help of scissors gave it the shape of a grass. I deliberately cut off an uneven strip, as the grass should be of different heights.
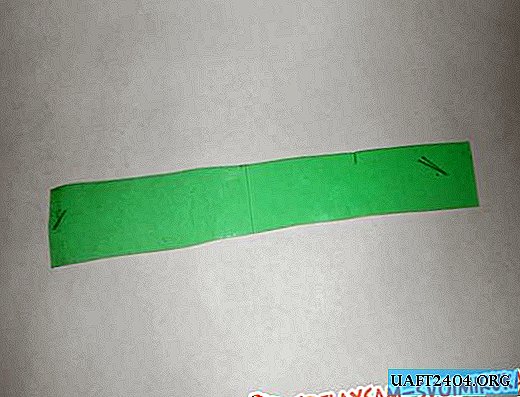

To give the grass a natural look slightly under the melted strip above a lit candle.

Then I glued weed to each fungus.

I also stuck decorative flowers on the meadow and planted a butterfly and a ladybug on the mushrooms, which, by the way, I made of a black button and covered it with nail polish. I glued grass along the edge of the meadow. My forest clearing is ready.

When I take my forest clearing into the garden, I will put a pot inside the stump and plant flowers in it. It will look very beautiful. I hope you enjoyed my garden craft.
Goodbye, see you soon.
Share
Pin
Tweet
Send
Share
Send