Share
Pin
Tweet
Send
Share
Send
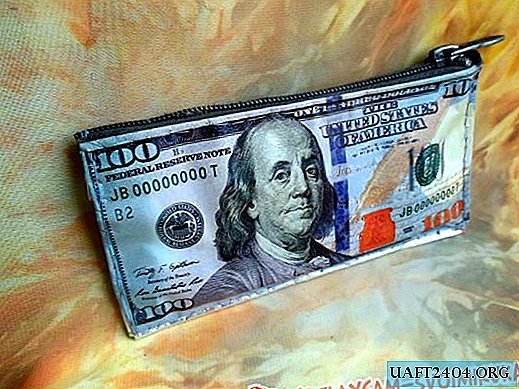
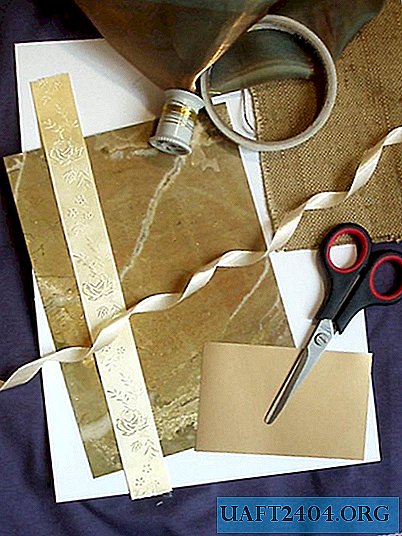
The needlewoman can find materials for the manufacture of this interesting postcard among the remains and shreds that were littered after other needlework masterpieces. Thus, your postcard will not be expensive. Of course, you can adjust the design of the card to your materials and desires. To make such a greeting card you will need:
- a piece of white or gray cardboard for the base of the card size 29.4x21 cm;
- a piece of patterned cardboard with an abstract golden-olive pattern measuring 14.7x21 cm;
- a piece of metallized cardboard in bronze color measuring 11x7 cm;
- a piece of burlap from the most ordinary shopping bag of potatoes or sugar, previously washed; burlap is sold in shops for creativity, but there it is unreasonably expensive, so you can get by with what is at hand;
- metallized golden lurex thread for knitting or for embroidery;
- about 1 m of a satin ribbon 1 cm wide in pale cream color;
- patches of iridescent organza of a rich olive-golden color;
- cream-colored beads and mother-of-pearl sequins;
- about 27 cm of patterned braid of pale yellow color 2.5 cm wide;
- double-sided clerical tape;
- ruler and pencil for marking;
- sewing thread in tone of satin ribbon, thin needle, pins;
- candle and matches;
- scissors.
First, a piece of patterned cardboard must be prepared for the front of the card. To do this, along the long side, departing from the right edge by 3 cm, you need to glue a patterned braid. Gently glue two strips of double-sided tape next to each other from one short edge to another. We remove the protective layer and put the tape on the adhesive tape so that there are about 3 cm of free ends on both sides. We press it so that it adheres firmly.


Now glue the protruding ends of the braid to the wrong side. We do this with two small pieces of tape.


Temporarily set aside a large part and proceed to decorate a small metallic bronze cardboard element. First you need a piece of burlap. Please note: the part must be cut obliquely - the direction of the slices is shown in the photo. In this way, you will prevent shedding of the slices. Slices should be placed at an angle of 45 degrees with respect to the shared and transverse threads of the canvas. So we cut out a strip of about 9x4 cm. It's okay if the rectangle is a little skewed and its sides are not perfectly straight.


Now we take a pin with a thick tip and with its help we break the edges of the rectangle about 8 mm around the entire perimeter. Due to the fact that the burlap is cut along the oblique, the edges will not crumble, but acquire fluffy fringe with the effect of some negligence. After you tear the edges, try on the part. If it is too big, trim it to the size you need.


Then you need to glue a piece of burlap on metallized cardboard. Using two strips of tape, glue the burlap along the long side of the rectangle closer to one edge.


Finished part with burlap must be decorated with metallic gold lurex. Wind 5-6 turns across the part with burlap closer to the right edge. Place the coils obliquely and crosswise. Tie the wrong side of the thread. For reliability, it is possible to fix the coils on the wrong side with tape or glue so that they do not move. You can also drip glue or nail polish on the knot to fix it, although this is not necessary. On the front side, straighten the fringe so that the lurex goes over the burlap, but not over the fringe.


We set aside both cardboard parts and deal with the decor of the fabric. Five small roses need to be rolled up from a satin ribbon. When folding the rose, if necessary, fasten the flower with pins. Thread a double thread into a thin needle. Sew all layers of the rose so that the thread is not visible on the front side. Then bring the thread to the front in the middle of the flower and sew one sequin and one bead. Take the thread to the wrong side, fix it with a bundle, but do not cut it.


So you need to prepare five roses. Five circles with a diameter of about 5 cm need to be cut out of organza. It's okay if the circles are crooked and even not at all like circles.


We light a candle and begin to process slices of cut organza shreds. If the slice is brought to the side of the flame, then the slice will melt without deforming. If you bring the organza on top of the flame, then melting, it will beautifully bend. The piece itself will significantly decrease in size. In this case, to obtain melted sepals in the shape of a "cup", you need to carefully bring the organza with a cut from above the flame. Work carefully so as not to burn the whole piece of organza and your own fingers.


When all five sepals are ready, you need to sew a rose on each of them. To do this, put the rose in the seared “nests”, put the thread on the wrong side and make several fastening stitches, capturing both the organza and the lower layers of the satin ribbon. Do not cut the thread, but leave it on the wrong side.

The resulting roses need to decorate a small detail with burlap. Sew the roses to the cardboard small part, placing them as in the photo. Sew right through all the layers - cardboard, burlap, organza and ribbon. Make at least 3-4 stitches for each flower so that they are firmly and on all sides attached to cardboard. On the seamy side of the thread, fasten with 1-2 knots and cut the excess end of the thread. If you are not sure about your knot, drop glue or varnish on it. Thus, sew four flowers to the small part.


Sew the remaining flower not to a small part with burlap, but to a patterned part with a border. Try on a small part to understand where you will place it, and then sew the flower on the cardboard as you see in the photo or as you yourself want. Fasten the thread on the wrong side and cut off the excess.

Finished decorated parts need to be assembled together. Paste the double-sided tape around the perimeter of the inside of the small bronze-colored cardboard element. Lay a couple of strips in the middle so that the part is better fixed. Remove the upper protective layer and gently press the small part against the large.

Now that the front side is completely ready and assembled, it remains to assemble the card itself. Fold a large sheet of cardboard in half. To bend it easier and more evenly, first scratch the bend line with a thick needle. Then paste one part with double-sided tape around the perimeter, and also attach several strips in the middle, as in the photo.

Remove the protective strips on the tape. Gently and evenly press the decorative part of the card to the base. Now your card is completely ready and you can give it to a happy recipient!


Share
Pin
Tweet
Send
Share
Send