Share
Pin
Tweet
Send
Share
Send
So, for work you need to prepare:
- a skein of yellow fancy threads;
- a suitable size hook;
- filler;
- beads that are needed for the eye, and glue;
- threads of red color.
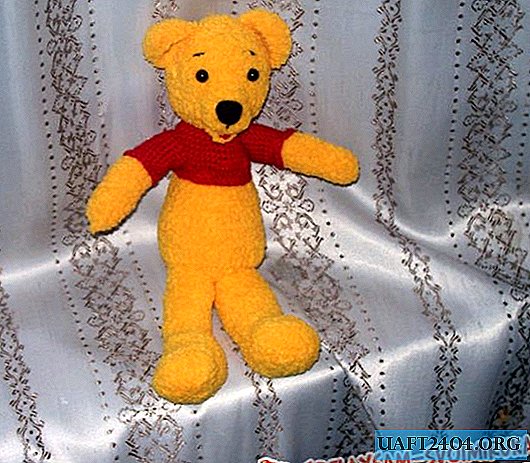
The time we need to make a toy is about 2 hours. The size of Vinya is 25 cm.
This is how our toy will look at the very end of the work.
Work Stages:
Stage One. The head part of the toy.
Take the yellow thread and start knitting in a circle.

When the diameter of the circle reaches 4 cm, you can stop adding loops and knit the walls of the head, knitting finish at a height of 6 cm.

Next, proceed to tying the ears. To do this, take the yellow thread and knit a circle with a diameter of 4 cm, the edges of the ears are specially bent (for this you need to reduce the loops).

The result is a head and 2 ears.

Stage Two. Torso.
Now we begin to knot the torso, begin to make a circle with a diameter of 5 cm (if you want Wini to get thicker, the diameter of the circle needs to be increased to 7-9 cm).
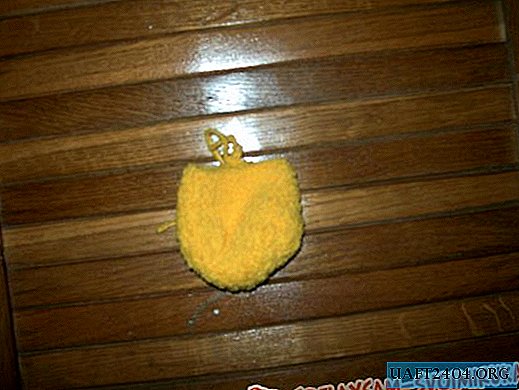
We knit the upper body.

Then we change the color of the threads and finish knitting with red threads at a height of about 7.5 cm.
Stage Three. Limbs
When the head and torso are ready, it is up to the little thing to knit the arms and legs of the toy.
We start from the upper extremities, first knit the yellow part of the foot, and then go on to the red color of the thread, at a height of 7 cm we close the knitting.

We will do the same for the legs. Do not forget to make the foot of the toy more convex, for this we first knit a circle, and then begin to reduce the loops, rising to the height of the product.

Now we sew together the head and body of Winnie.

In place of future arms and legs, we insert the wires, which will allow our young and cute little bear to bend the front and lower limbs.

Well, now we sew the upper legs.

By this time, you can already make the face of a teddy bear. To make it, you need to knit a circle with a diameter of 3 cm from yellow threads, slightly fill the circle with holofiber and sew to the front of the head, glue the eyes, embroider the nose and eyebrows, make a mouth.

And then sew on the lower legs.

Here is our bear and ready. Of course, he turned out a little thin for Winnie the Pooh, but how soft and gentle he is. He just hasn't eaten honey yet.

Share
Pin
Tweet
Send
Share
Send

