Share
Pin
Tweet
Send
Share
Send
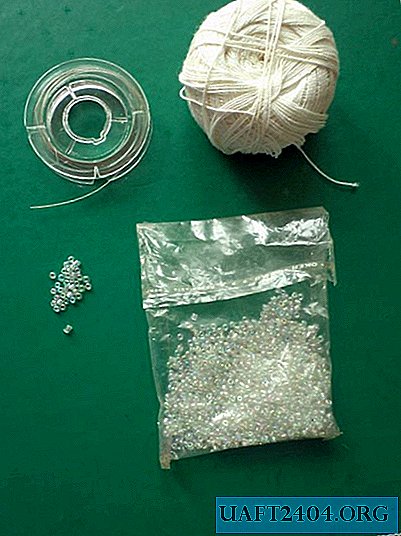
First we make thin branches. We string two beads onto a thin wire approximately 25 cm long, push it to the middle, fold the ends of the wire and twist it 2-3 turns.

Next, we put two more beads on one of the ends of the wire, we twist the ends again.

So we have to string 7-8 pairs of beads, and we get a twig, as if covered with hoarfrost.

We collect thin branches into bundles of three.

And from three bundles we form a thick twig.

Twisted wires at the base of the branch are wrapped with threads about 1 cm so that the wire is not visible. Such branches need to be made 12-14, the more branches, the higher the birch will be. We attach them to a thick wire, wrapping around it the ends of wires that are not wound with threads. As the branches attach, the trunk is also wrapped with thread, since then, when the whole tree is assembled, it will be more difficult to do this, the branches will interfere.

After the crown is formed, we wrap the lower part of the trunk with thread. If it turns out to be too thin, you can add another two or three central wires.

Now we need to cast the stand. As a form, you can take a small plastic tray for food. We dilute the plaster mixture to the consistency of thick sour cream, pour it into the mold, making sure that there are no air bubbles between the walls of the mold with the mixture, and immerse the lower part of the barrel. Typically, this mixture sets in 20-30 minutes.

After complete solidification, remove the stand from the mold and proceed to the design of the barrel. We dilute the same plaster mixture more fluidly and apply with a brush on the trunk and branches over the threads in several layers.

When the mixture dries, cover the trunk, branches and stand with white acrylic paint. We put black strokes on the barrel. The side surface of the stand can be painted with frosty patterns. Winter birch is ready.

Share
Pin
Tweet
Send
Share
Send

