Share
Pin
Tweet
Send
Share
Send
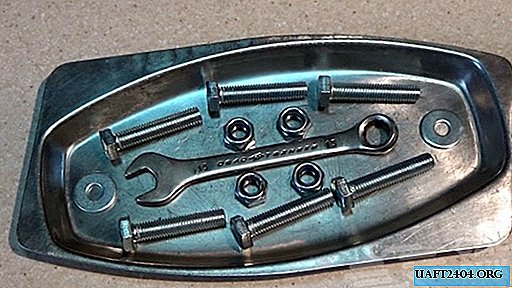
To work, you will need:
• Any paper (from toilet paper and newspaper to notebook and landscape sheets);
• Kleister (wallpaper glue or PVA);
• Glue brush;
• Paint brushes;
• Board for modeling or oilcloth;
• Vegetable oil;
• Scissors for labor;
• Stationery knife;
• braid;
• Varnish.
Working process
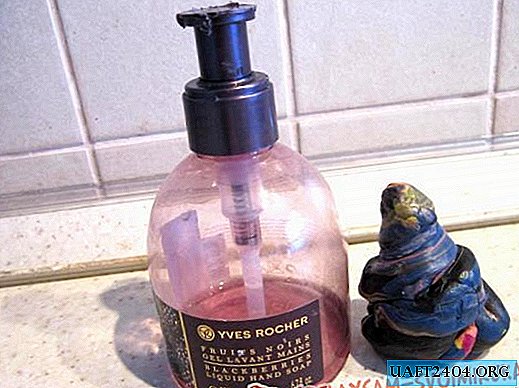
1. To perform work on this technology, a form is required. Since the Snow Maiden and the Monkey were planned to be executed in the form of painted nesting dolls, a bottle of liquid soap was taken as the basis. The bottle turned out to be an excellent “body”, but the head had to be made of clay.

2. Cooked paste. The proportions are visible in the photo: in a glass of water, a tablespoon of sifted flour.
Tip: a paste is a perishable product, so you need to store it in the refrigerator between work.
3. The finished form is greased with vegetable oil (you can Vaseline) so that the paper does not stick to it.


4. Layered on top of the mold three layers soaked in glue paper. The layers were dried. Again applied several layers. They dried again. The procedure was performed several times. The more layers of paper, the tougher the finished craft will be. By the way, children like to lay layers of paper - doing something is comparable to collecting puzzles.
5. Cut the paper blank in half, trying not to cut through the form, and removed it from the base.


6. Prepared a braid for which the toy will be mounted on a Christmas tree. For this, 20 - 25 cm of tape, cord or braid were folded in half, tied the ends with a strong knot.
7. We connected the halves by inserting a loop from the braid into the upper part of the toy blank, while the loop itself should remain outside, and the knot inside the craft.


They glued the toy in one layer with glue paper.
8. Made a toy bottom out of paper. This step is a departure from the traditional papier-mâché production method, and it was taken due to the fact that the toy was originally planned to be made without a bottom.


9. Put some more layers of paper with glue (the top layer is recommended to be made of pure white paper). Dried.

Tip: if you want to achieve the most even surface, sand the dried blank from papier-mâché with sandpaper, removing all creases and irregularities. To obtain a smooth surface, you can also use putty with subsequent grinding.
10. The blank of papier-mâché was primed.
11. Put on the figure you like drawing, painting.


Tip: to decorate such products, use the decoupage technique - it looks very beautiful, impressive.


12. The finished painted figure was varnished. This will preserve the beauty of the craft for many years.
Share
Pin
Tweet
Send
Share
Send