Share
Pin
Tweet
Send
Share
Send
And so for work we need:
- vegetable box;
- corrugated cardboard;
- three-layer napkins;
- cardboard base for a box;
- stain;
- paint;
- PVA glue;
- acrylic lacquer.
First, let's put the box in order. You need to clean it, grind it, if there is a picture - remove it with sandpaper.
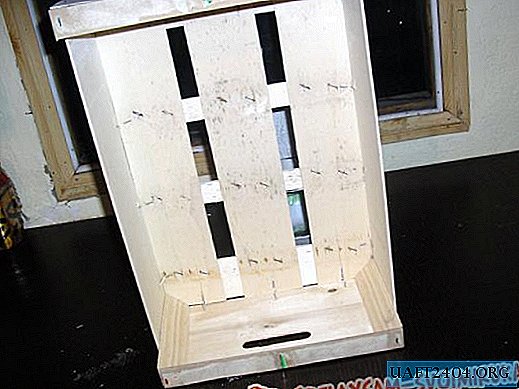
Stain (choose color as desired) cover the entire surface of the box inside and out.

Now let's take the bottom of the box. I made an imitation of a brick wall, for this we need corrugated cardboard. First, draw rectangles 24 x 6 cm in size on the sheet of cardboard (the size of a laying brick).
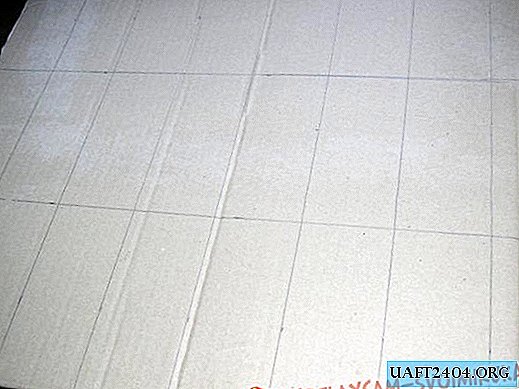
Cut along the lines and get a stack of bricks.

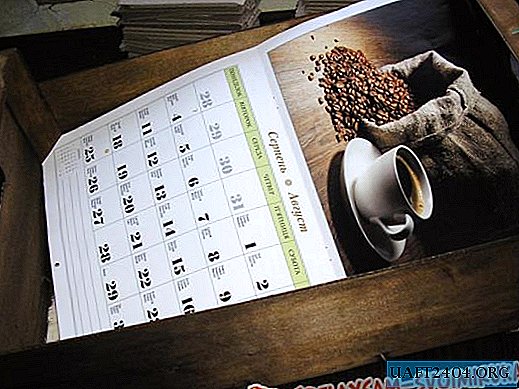
On the bottom of the box we measure the base. I took a sheet of the old calendar, it turned out to be quite dense to put bricks on it.
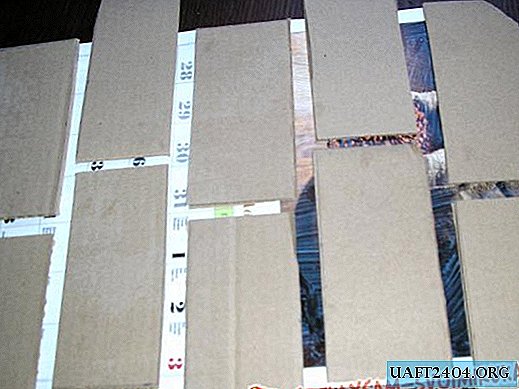
In a checkerboard pattern, we paste bricks on the base, not forgetting to leave a gap between them. I used my own finger, but you can use the ruler.
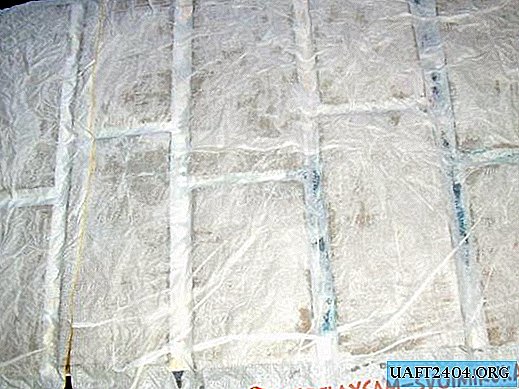
We cut off the excess and take a three-layer napkin.

We crush it and, having previously plastered the base with bricks, apply it. As a result, we get a wrinkled (without fanaticism) surface. From above we again go through the glue.
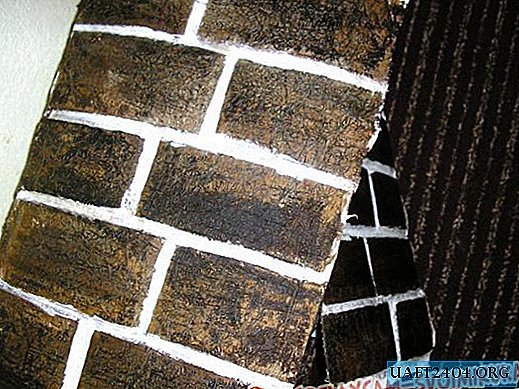
After complete drying, we take up the painting of the brick element. For this, I used the same stain. Completely covered the surface and allowed to dry again.

Now with white paint (individually select the color again) we go through the hollow strips between the bricks.

Here is what happened.
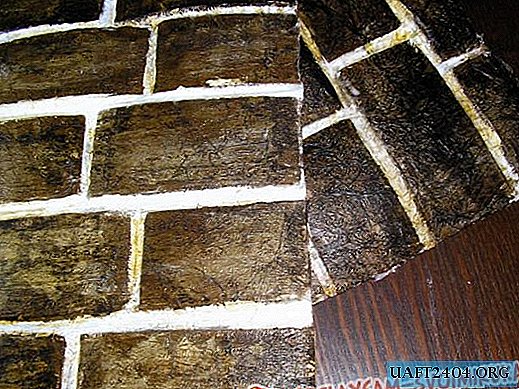
However, the color seemed too dark to me, so I, using a kitchen sponge, applied randomly white spots.

She covered everything with acrylic varnish and got just such an element of a brick wall.
Now glue the base into the box. After gluing the bricks, my box merged in one brown spot, and I decided to smear the inner walls and the end of the box with a brush with white paint. This miraculously shaded the foundation and gave the overall picture a touch of antiquity, a sort of “Shebby chic.
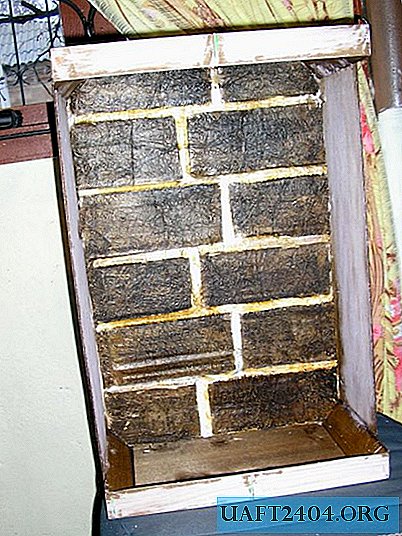
I had two boxes and this is how they began to play on the wall.

It is very convenient and unusual. I think you will need my experience. Create and do. Good luck
Share
Pin
Tweet
Send
Share
Send