Share
Pin
Tweet
Send
Share
Send
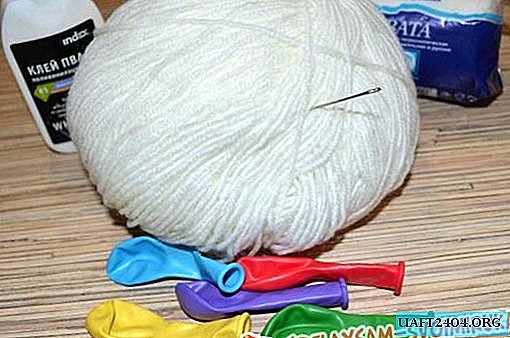
- A plastic cone-shaped wine glass with a leg or a cardboard cone,
- natural material (shells of different sizes, starfish, colored pebbles, sea pebbles),
- decorative material (colored glass, beads, chains, etc.),
- glue gun and glue sticks,
- nail polish with shine or hair spray with shine.
On the eve of the New Year, I want to please our loved ones with something pleasant. I propose to make a Christmas tree with your own hands from shells. You can not do without such a tree if you are organizing a New Year's party in a marine style. This tree will become the queen of the holiday. So, let's begin.
1.Prepare the necessary material: wash shells and pebbles if necessary and dry.


2. If there is no suitable plastic glass in shape, you can make a cone out of cardboard by folding it with a bag and gluing the edges. Then trim the extra tail. Sort shells sorted by size. On the cone, starting from the bottom, with the help of a glue gun, we begin to stick shells. I used river bivalve shells, similar to sea ones.


For the bottom row we use larger shells, then the size goes down. We stick the rows of shells tightly to each other. There is no need to regret the glue, since the shells are quite heavy, it is necessary to glue in all the contacting surfaces. Gradually, a pyramid is being built row by row. Glue a piece of a triangular shell on the upper tip. You can use several debris by gluing them together. Glue a starfish to the very top (if there is no star, you can glue a beautiful shell). Then decorate the place of gluing with smaller shells. And now the most enjoyable stage is decoration. For this we use everything that is in the bins. These are various beads, colored pebbles, glass and so on. We stick decorations to your liking. You can withstand a single color scheme, or you can make a colorful Christmas tree. In some places, you can add shine to the shells with glossy nail polish, or sprinkle the whole Christmas tree with glossy hairspray.


The next stage is the manufacture of the legs for the Christmas tree. To do this, you can use any high cover or something in the shape of a cylinder, pasting it with small shells or pebbles. I used three large shells of the same size. After washing and drying, we glue these shells together with a large amount of glue, because they will have to withstand a rather heavy Christmas tree. We use very strong glue or a glue gun. Let the glue dry thoroughly.


For a more durable connection to the bottom of the tree, glue a cardboard circle, slightly larger in size than the base of the spruce cone, but you can do without it. We apply a large amount of glue to the upper part of the leg, and also apply glue to the base of the tree (on cardboard or on shells). We connect the two parts together. Leave in this position until completely dry. After we admire our work and put it in the most prominent place in the house. And you can present a tree as a gift, if not sorry, of course.

Share
Pin
Tweet
Send
Share
Send