Share
Pin
Tweet
Send
Share
Send
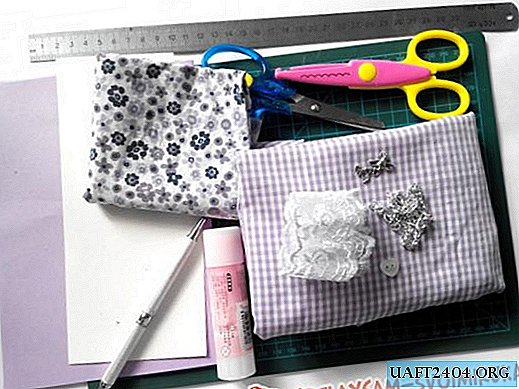
From cardboard cut a rectangle 20 cm long and 13.5 cm wide.

To correctly calculate the size of the rectangle, measure the sides of the passport (in this case 9x12.5 cm). Double the width and add 2 cm to the resulting number (9cmx2 + 2cm = 20cm). Add 1 cm to the height (12.5 cm + 1 cm = 13.5 cm)
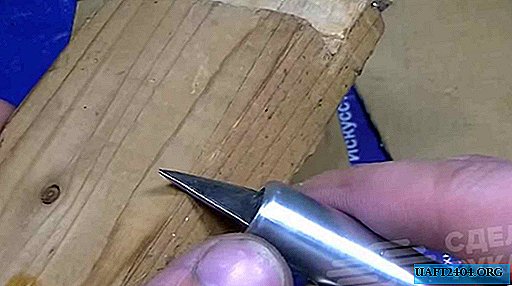
Make a crease of the fold line, and two lines on either side of the fold line with an interval of 2 mm.

Iron the checkered fabric and cut out a rectangle with sides 2 cm larger than the sides of the cardboard rectangle. In this case, 22x15.5cm.

Apply a thin layer of PVA glue to the cardboard. Glue the fabric to the cardboard, leaving allowances for the hem. Cut diagonally the corners of the fabric.
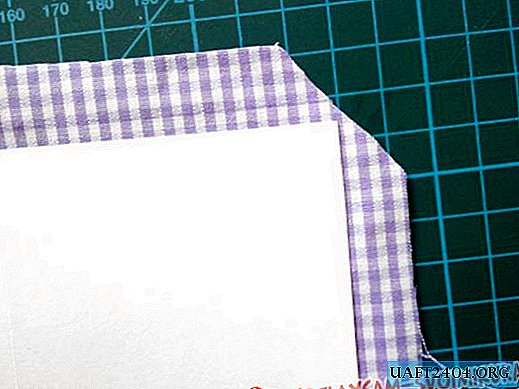
Bend and glue the top and bottom sides of the fabric to the greased cardboard with PVA glue.

Then the right and left sides.

Make sure that the fabric does not overlap at the corners, but lies butt to butt. Excess fabric can be cut with nail scissors.

From the outside, the corner should also be neat.

From the checkered fabric, cut a rectangle 13 cm long and 5 cm wide. Bend 1 cm and iron the short sides of the rectangle inward.

Glue the fabric to the inside of the cover.
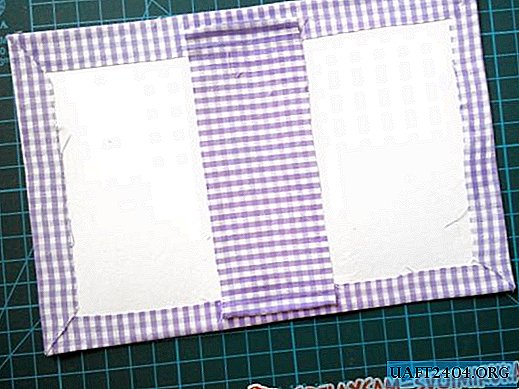
From paper for scrapbooking, cut two 9x12.5 cm rectangles.

To form pockets from the same paper, cut two 5x14.5 cm rectangles.

Cut the two corners of the long rectangles. To do this, step back 1 cm from the edge of the short and one long sides and draw lines. 2 mm back from them and draw the parallels that are needed to create a voluminous pocket.

Fold and glue the pockets to the flyleafs.

For bonding, use glue stick, which, unlike PVA, does not warp paper. Glue paper blanks to the cover. Here already use PVA, but apply it not on paper, but on a cardboard blank.

The final stage is the decoration of the cover. Cut the rectangle (a) from the fabric into the flower, fold it diagonally (b) and round the base of the resulting triangle (c). The result is a petal.

Make 7 more petals. Overlaying one petal on another, form a flower, periodically flashing the middle.

To complete the flower, sew a round button and a heart-shaped button.

Glue the doves and the chain onto the polymer glue.


Then glue lace21.jpg, ribbon and textile flower.

From scrap paper with curly scissors cut an oval. On purple office paper, print an inscription and cut it with curly scissors. Glue two blanks together.

Glue the inscription to the cover.


Do-it-yourself textile cover for the passport is ready.

Posted by Elena Tregub
Share
Pin
Tweet
Send
Share
Send