Share
Pin
Tweet
Send
Share
Send
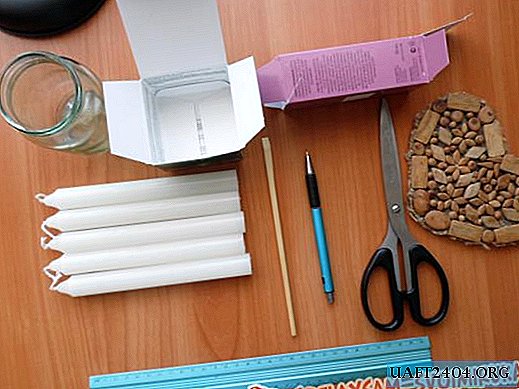
To make a Christmas tree toy, we need such materials:
• colored foil (as an option - colored paper, a wide gift ribbon);
• ordinary adhesive tape;
• double-sided tape;
• scissors.
Stages of making toys:
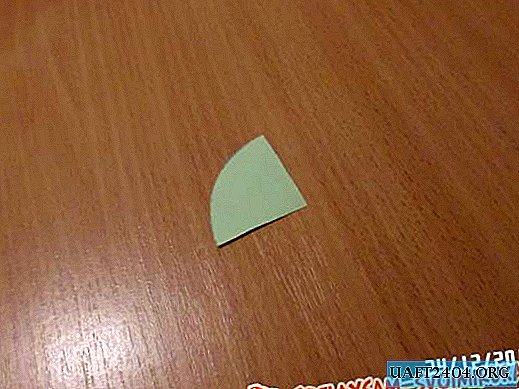
1. Our future toy will consist of many colored cones. To do this, you need to make a stencil of the future part from durable paper. Cut out the fourth part of the circle. From it we will twist the cones. In this work, a wide ribbon for gifts is used as a material.
2. Now from the selected material you need to cut a certain number of blanks. There can be up to 50 pieces. Everything depends on the diameter of the base of the cone.

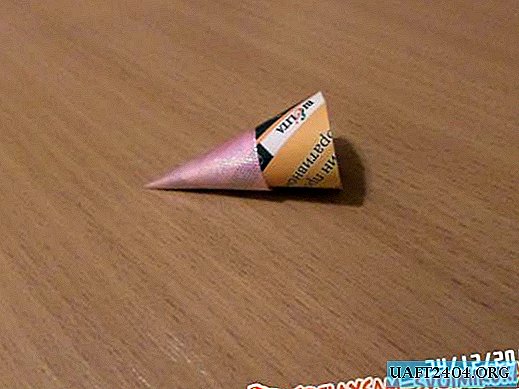
3. Next, you can begin to twist the cones. So that they are all the same size, we will make a template.

4. Screw the workpiece onto the template and fasten using ordinary adhesive tape. Remove from the template. The first cone is ready.

5. Now our task is to wind the required number of parts. In this work, we needed 35 pieces. All cones are ready. You can now begin to assemble the Christmas tree toy.

6. In order to keep the parts well together, wrap the tip with each double-sided tape.


7. Attach the cone to the cone, step by step, to make a circle.

8. The first row is assembled.

9. We begin to collect the second row by gluing the parts in turn on the first row. We stick the cones until a half of the toy is formed.

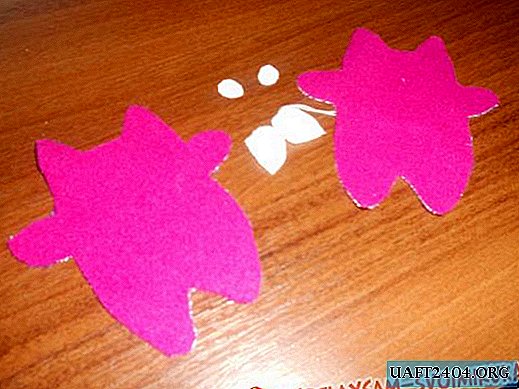
10. Cut out a circle from pink paper, paste double-sided tape on it. Glue to our half of the cones.

11. Decorate the plane to your taste.
12. It remains to glue the eyelet and the Christmas tree toy from the colored cones is ready.


Share
Pin
Tweet
Send
Share
Send