Share
Pin
Tweet
Send
Share
Send
color cardboard;
scissors, ruler;
PVA glue;
felt-tip pen, simple pencil;
two orange paper napkins, bamboo skewer
decorative flower.
Instead of cardboard, you can use velvet paper. It looks more elegant, but requires more accuracy when working with glue. First, you need to cut out a rectangle of standard greeting card format - 10x15 cm from cardboard. Apply a slightly noticeable sketch of the cat's figure to the blank with a simple pencil: curving back, tail, head. It's enough.
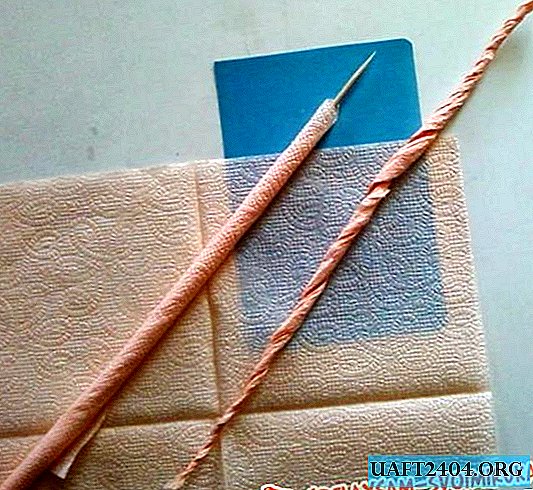
From both unfolded napkins, starting from the corner, roll straws. You can use a bamboo skewer to help - it is quite thin and does not slip. It is not necessary to twist very tightly so that it is easier to fold a straw into a tourniquet.

It’s more convenient to start sticking the cat from the body. A thin line of glue should be applied along the pencil line. Carefully, starting from the forefoot, a tourniquet twisted from a straw should be glued onto this adhesive strip. Holding it with your left hand, you need to twist it a little, pressing it to the cardboard.

All that is left after the back foot is cut off. The remainder comes in handy for the tail. A second napkin will be used to make the head. It is better to start gluing it from the middle of the forehead, highlighting the ears. Glue cat eyes out of two tissue balls. The third ball will act as the nose and mouth of the kitten. Now you need to run a colored felt-tip pen over the glued harness, leaving the stripes and circles. If desired, you can use a felt-tip pen to draw a mustache on the face. Additionally, a small decorative flower or butterfly flying over a displeased cat will decorate the card.

Share
Pin
Tweet
Send
Share
Send