Share
Pin
Tweet
Send
Share
Send
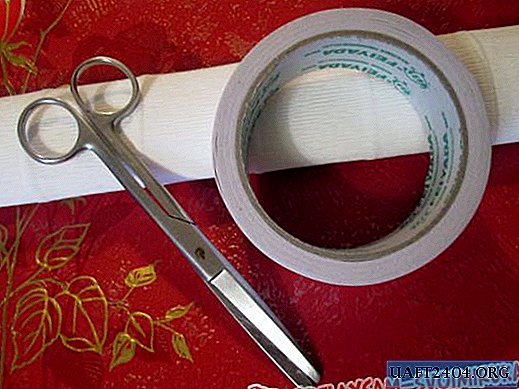
1. We will need such materials and tools:
• White corrugated paper.
• Double-sided tape.
• Scissors.
• A piece of heavy paper. (In this master class wallpaper)
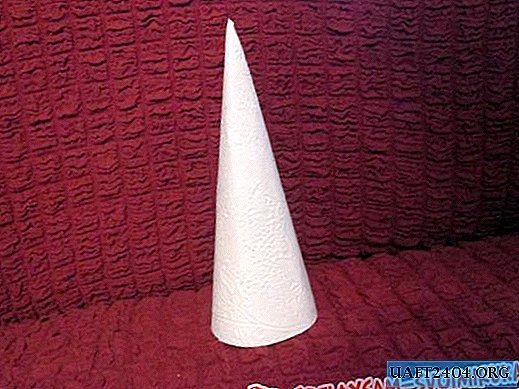
2. We make such a cone out of a piece of wallpaper. Do not try to fasten it tightly. In the future, it will still be wrapped in several layers of adhesive tape. That will give strength and hardness to the base.
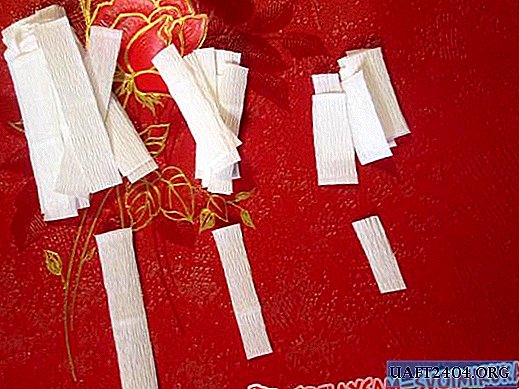
3. Cut the corrugated paper as follows. We will need 3 different sizes of blanks. Since every 2-3 rows the size of the branches of the spruce should decrease.
4. Twist the rectangle.

5. Fold in half.

6. Lightly push the finger on the bend. So that the workpiece takes a convex shape.

7. Glue double-sided tape on the cone.

8. We begin to glue our blanks one at a time.

9. This is what the first row of branches of a Christmas tree looks like.
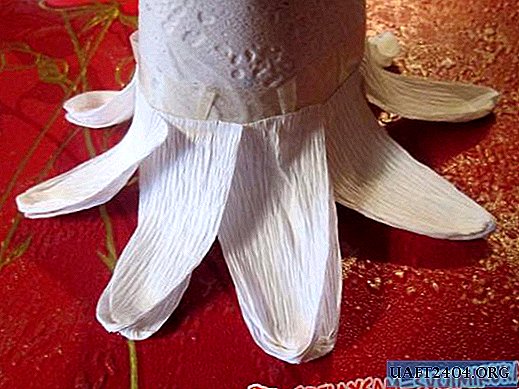
10. Next, glue the second piece of tape. We do it as follows. We go a little to the blanks of the previous row to fix them.

11. The second, and all subsequent rows, are glued according to the following principle. Each blank must fall between the blanks of the previous row. So that the branches of the spruce looked natural, and there were no empty gaps between them.

12. The top do so. We take a small workpiece, already twisted, and cut it at an angle. Glue it directly on top of the Christmas tree. So that one part covers one side, and the other the other.

13. Here is a wonderful Christmas tree ready.

Share
Pin
Tweet
Send
Share
Send